HR · HR teams · about 5 min
Set up grades, positions and checklists
Do this before adding employees: their records use grades and positions, and new joiners get the onboarding checklist.
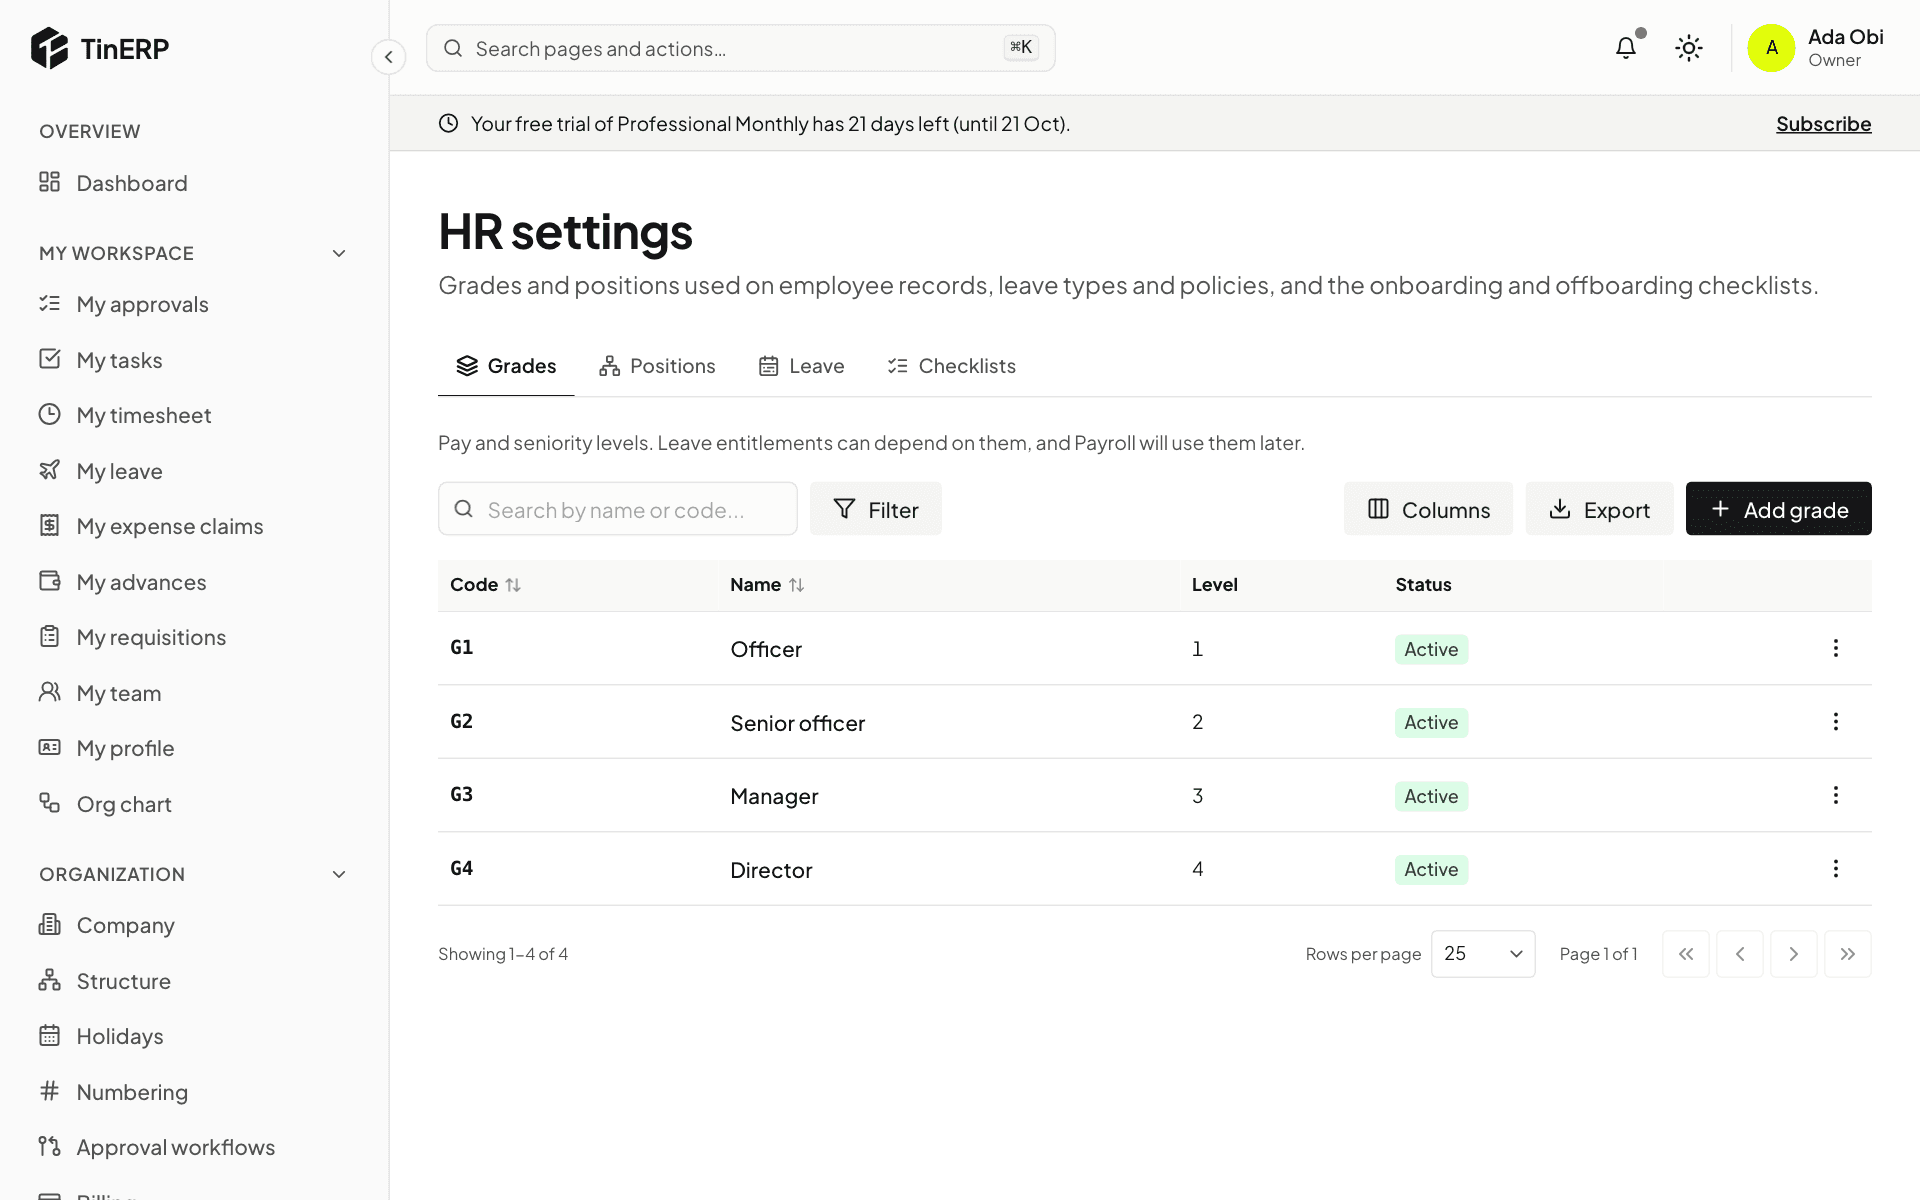
1. Add your grades
Go to HR → HR settings. Under Grades, select Add grade and give it a code, a name and a level. Leave allowances can depend on grade - for example more annual leave for managers.
2. Add positions (optional)
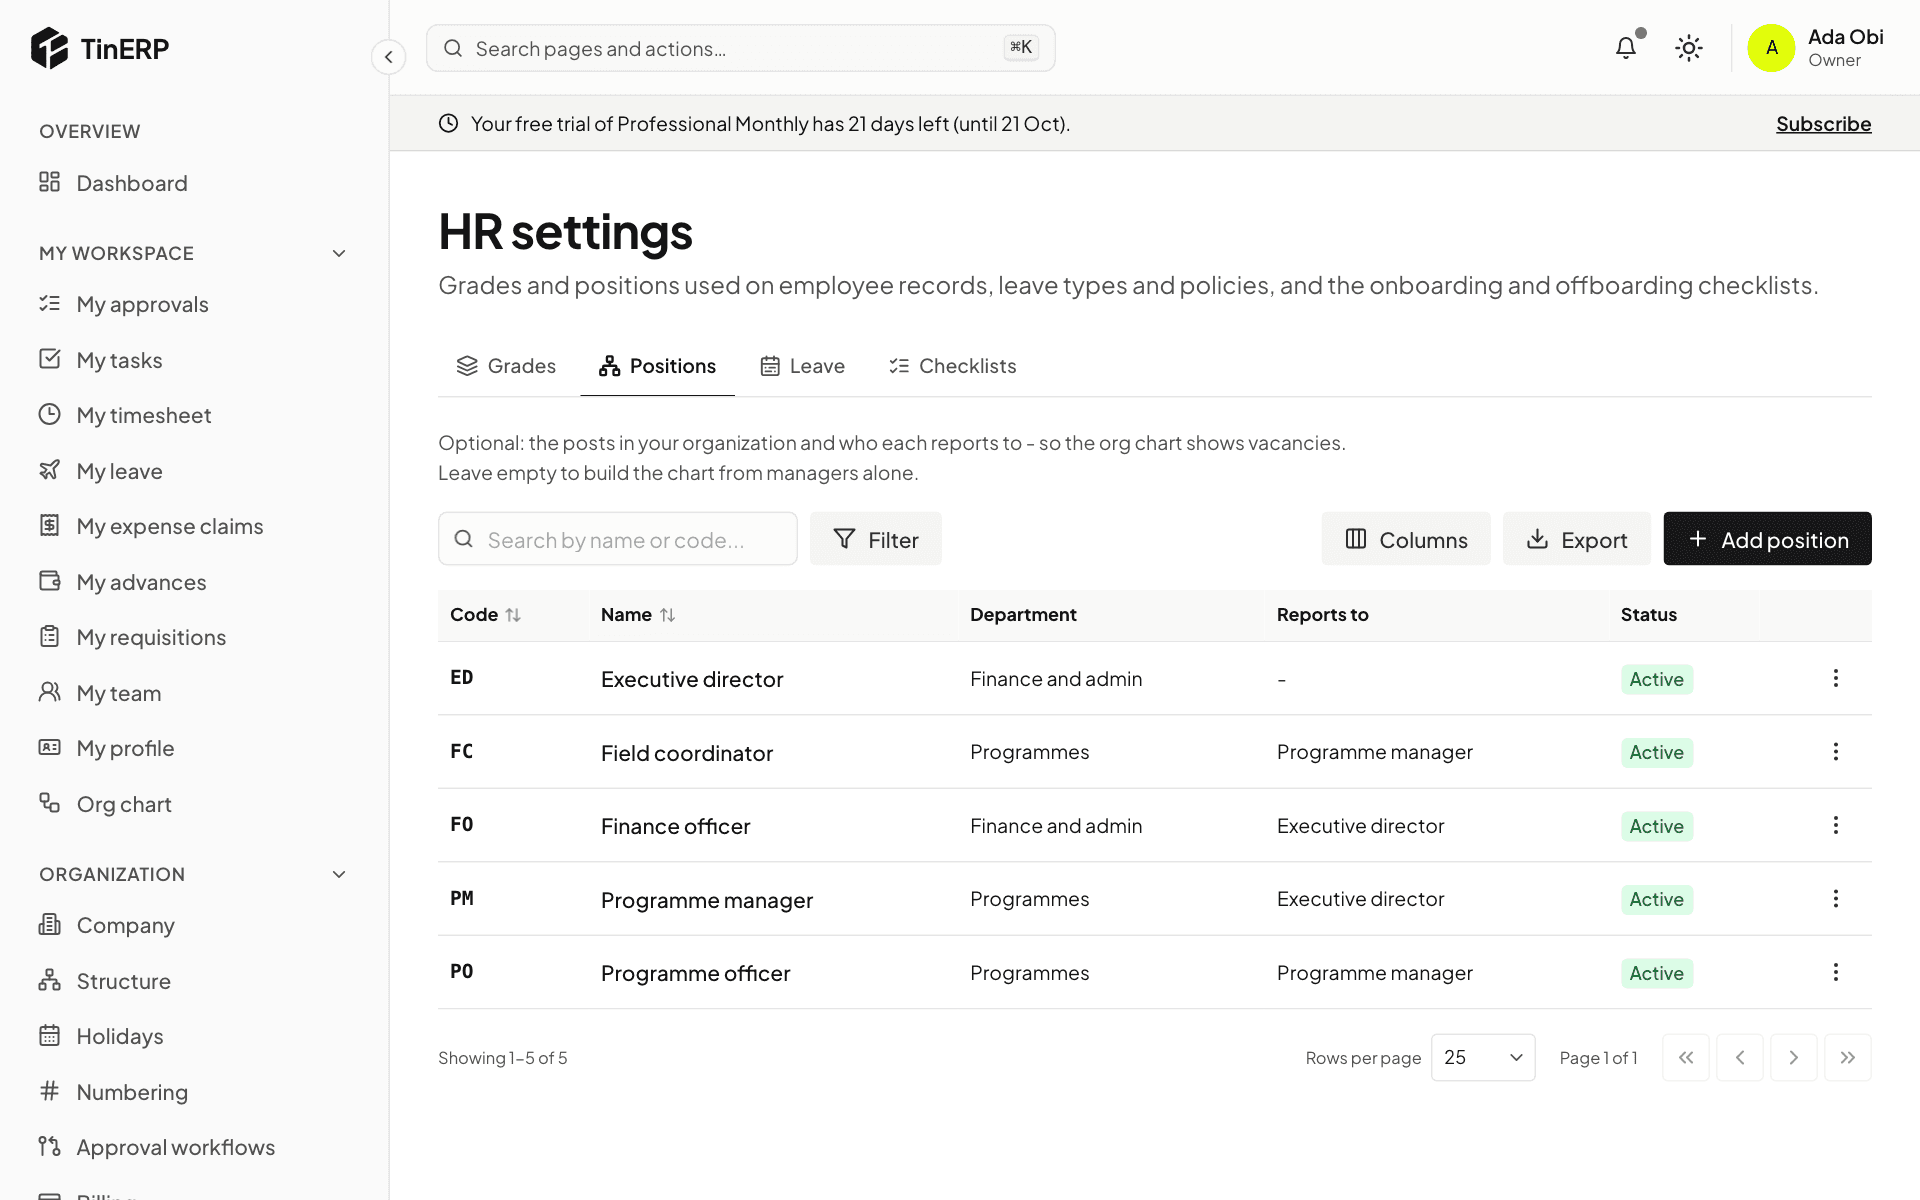
Under Positions, select Add position for each post in your organization, with its department and the post it reports to. Posts nobody holds show on the org chart as vacancies.
Small organizations can skip this: the org chart is then built from each employee's manager.
3. Check your checklists
Under Checklists, TinERP starts you with a Standard onboarding and a Standard offboarding. Each step says who does it - HR, the person's manager or the employee - and when, counted from their start date or last day.
Select Edit to change the steps, or add your own checklists. The one marked Starts by itself begins when you add an employee or record an exit.
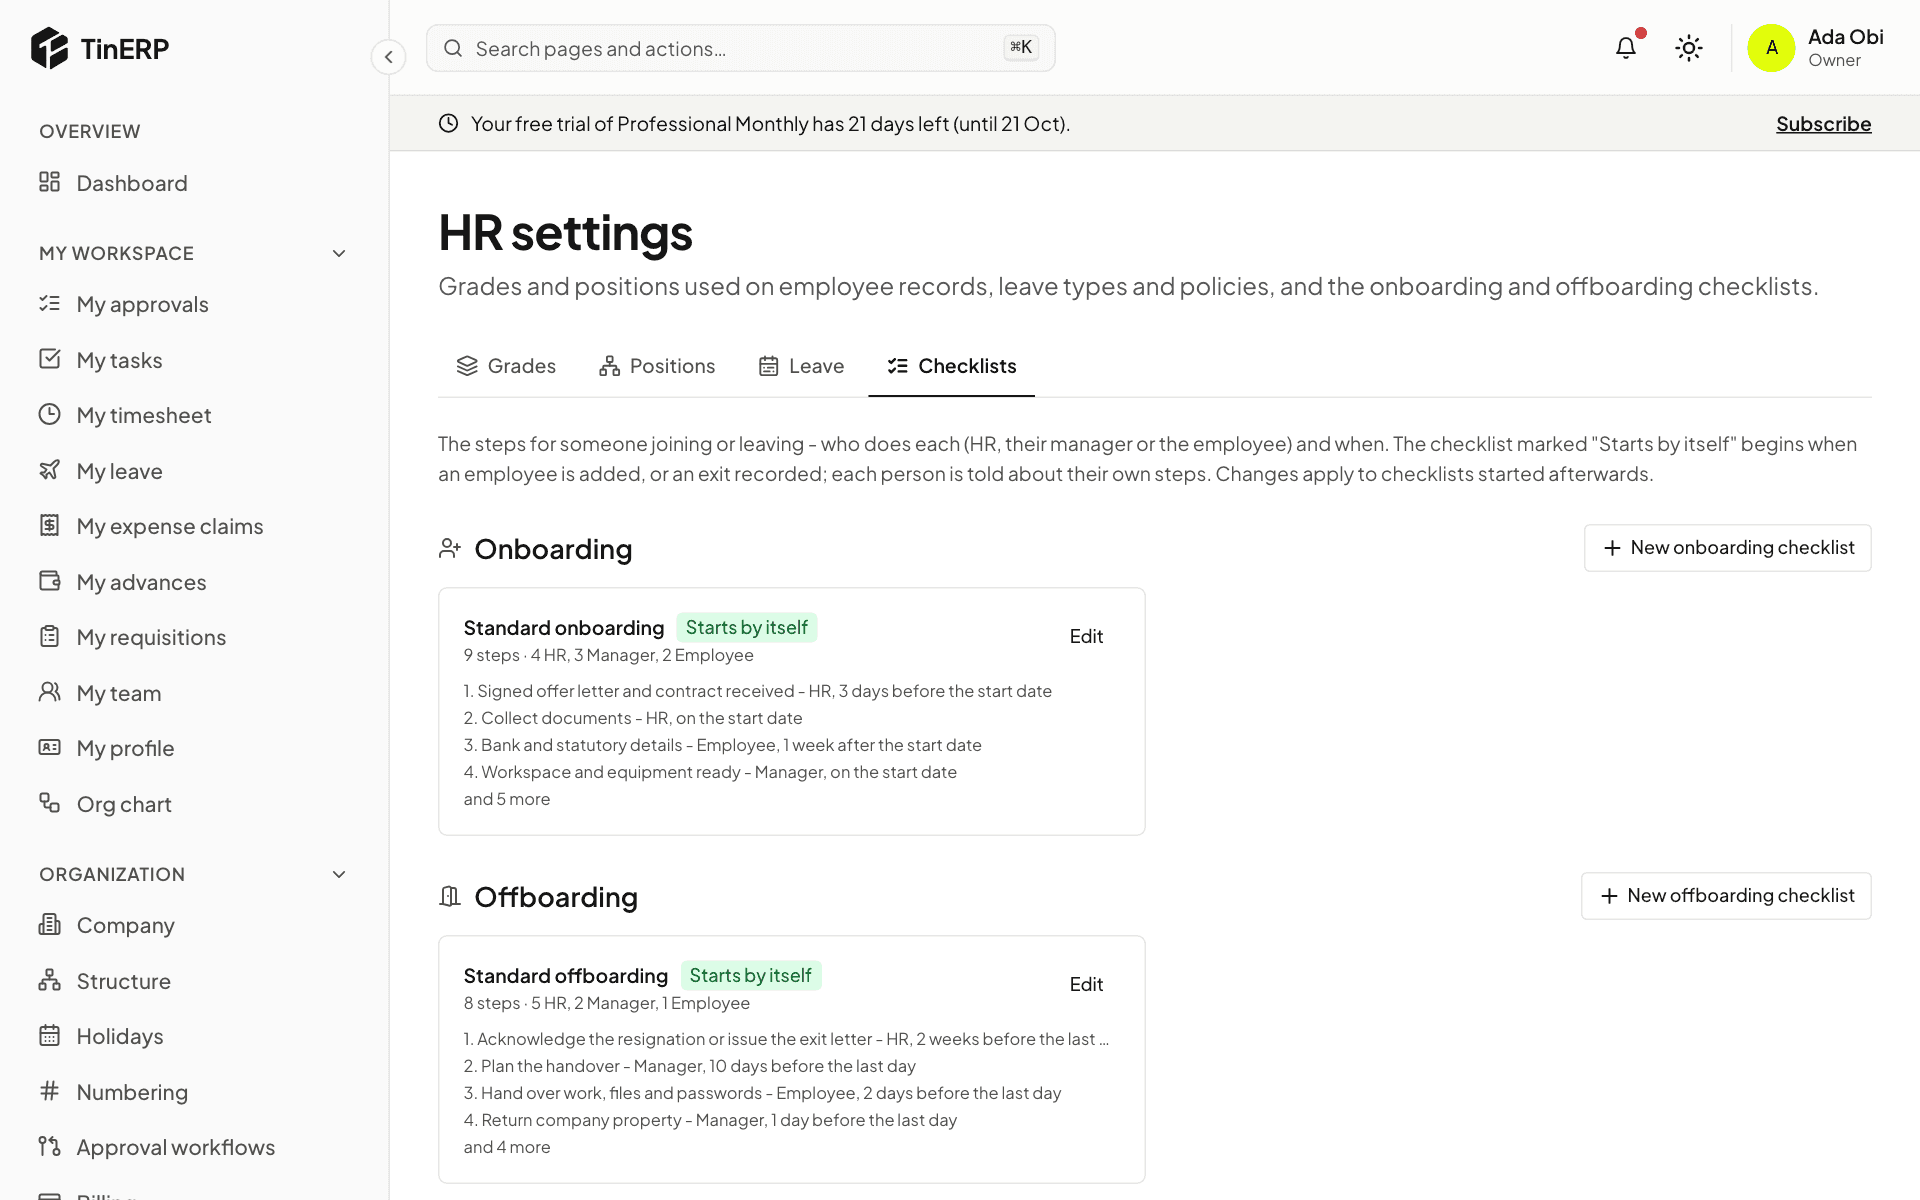
Tip: Changing a checklist affects checklists started afterwards. Ones already in progress keep their steps.