Add and approve vendors
Orders only go to approved vendors. Each vendor is checked once - who they are, their documents and their bank details - and approved by someone other than whoever added them.
- 1
Add a vendor
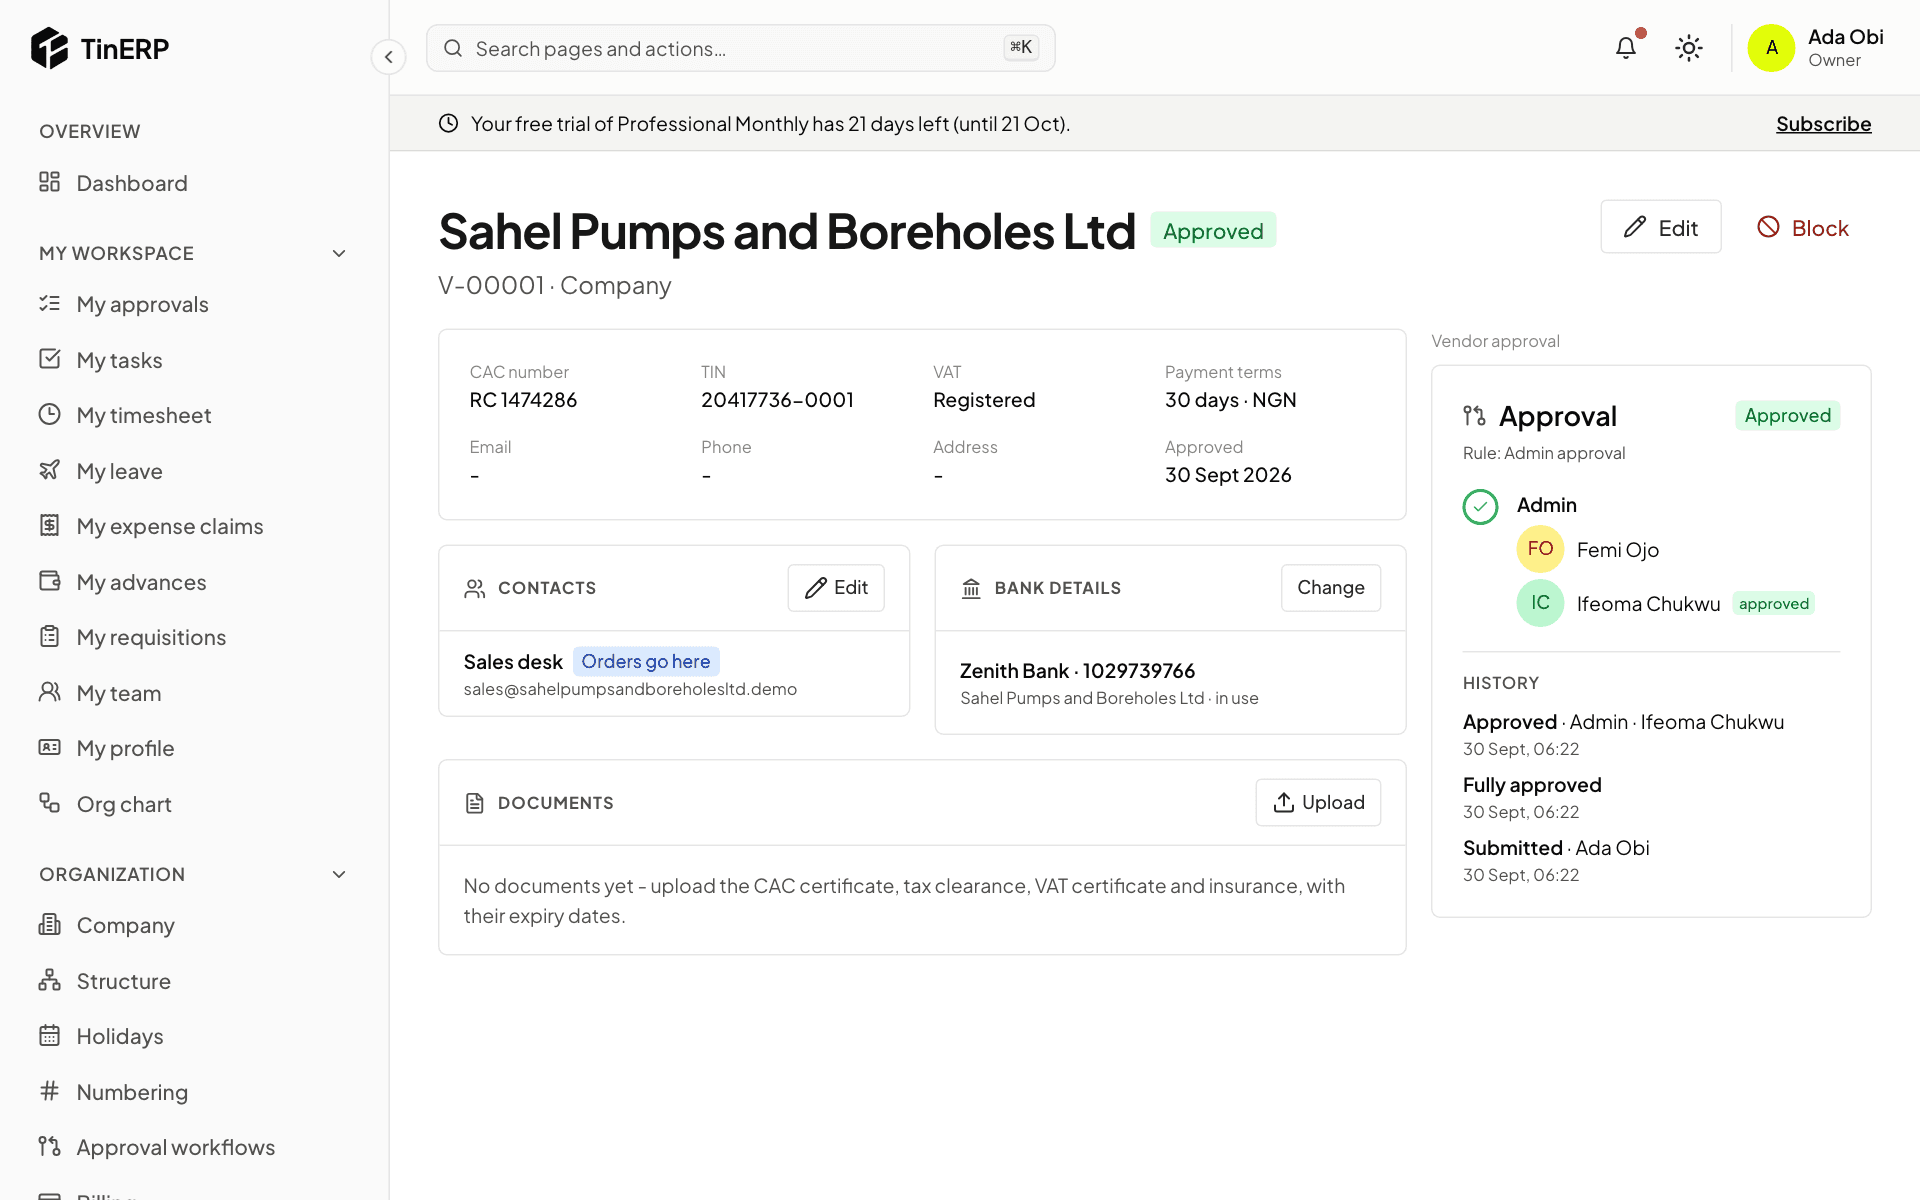
Go to Procurement → Vendors and add one: company or individual, their names, CAC number and TIN (the same twice is refused - it's almost always a duplicate), VAT registration, payment terms, what they supply, contacts - mark one Orders go here - and their bank details.
Under Documents, upload the CAC certificate, tax clearance, VAT certificate and insurance, with their expiry dates. You're told before one expires; an expired document stops new orders.
Full size
An approved vendor: details, contacts, bank details, documents and the approval - 2
Get it approved
A new vendor is prospective. Select Submit for approval; someone else approves it (by default an Admin). Then orders can go to them.
- 3
Changing bank details
For an approved vendor, Change on their bank details makes a new account that waits for approval by someone other than you - the old one stays in use until then, and payments to them are held. Check new details with the vendor by phone, on a number you already have.
Tip: A request to change a vendor's bank account, especially by email, is a common fraud. Always confirm it another way.
- 4
Block a vendor
Block (with a reason) stops new orders to a vendor - for repeated late deliveries, say. Unblock when it's resolved.